
Creamy Mini Cheesecakes with a Buttery Crunch and Strawberry Bliss
Introduction
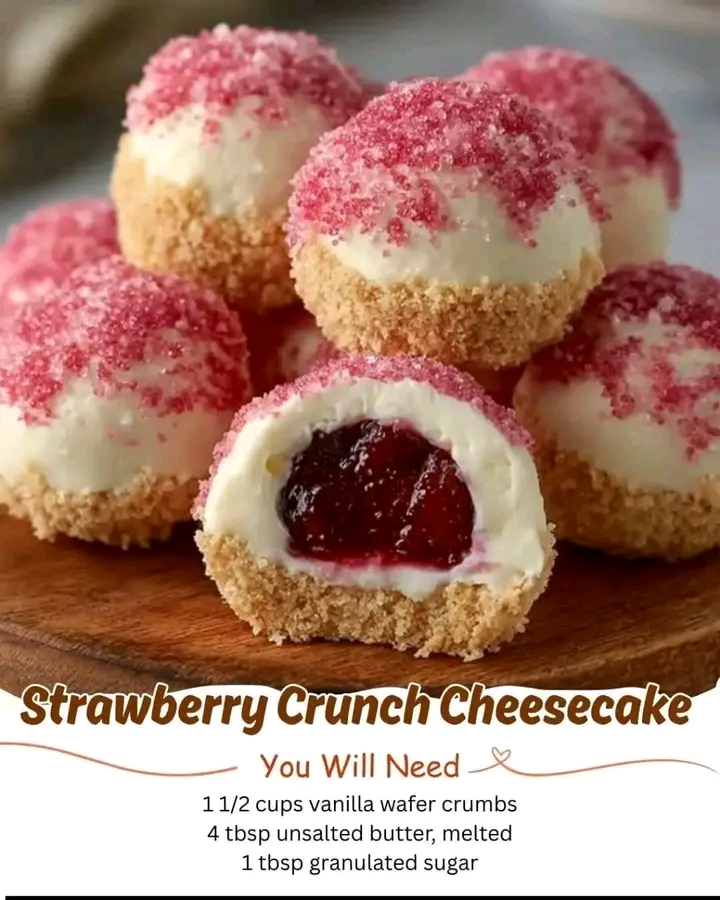
Strawberry Crunch Cheesecake Bites are the kind of dessert that instantly feels nostalgic and modern at the same time. Inspired by classic strawberry shortcake ice cream bars and bakery-style cheesecakes, these bite-sized treats combine a buttery vanilla wafer crust, a smooth and creamy cheesecake center, and a vibrant strawberry crunch topping that delivers both flavor and texture in every bite.
Perfectly portioned and visually irresistible, these cheesecake bites are ideal for parties, holidays, potlucks, baby showers, bake sales, or anytime you want a dessert that feels special without the commitment of slicing a full cheesecake. They are rich yet refreshing, indulgent yet balanced, and surprisingly easy to make with simple ingredients.
This long-form, website-ready recipe walks you through every detail: ingredient roles, preparation techniques, baking and chilling tips, variations, storage advice, and serving ideas. Whether you are a beginner baker or an experienced home cook, this guide is designed to help you create flawless Strawberry Crunch Cheesecake Bites every single time.
Why You’ll Love These Strawberry Crunch Cheesecake Bites
There are countless reasons this recipe deserves a permanent place in your dessert collection.
- Bite-sized and easy to serve
- Creamy cheesecake texture without being overly dense
- Sweet strawberry flavor balanced with buttery vanilla notes
- Eye-catching appearance with vibrant color contrast
- Perfect make-ahead dessert
- Customizable with different crusts or toppings
These cheesecake bites are proof that small desserts can deliver big flavor.
Ingredient Overview and Breakdown
Each layer of these cheesecake bites plays a specific role. Understanding the ingredients will help you achieve the perfect texture and flavor.
Ingredients
For the Crust
- 1 1/2 cups vanilla wafer crumbs
Vanilla wafers provide a lightly sweet, buttery base that complements the strawberry and cheesecake flavors without overpowering them. - 4 tablespoons unsalted butter, melted
Butter binds the crumbs together and creates a firm, rich crust once chilled or baked. - 1 tablespoon granulated sugar
Adds just a touch of sweetness and enhances the vanilla flavor of the wafers.
For the Cheesecake Filling
- 16 oz (2 blocks) cream cheese, softened
Full-fat cream cheese is essential for a rich, smooth, and creamy texture. - 1/2 cup granulated sugar
Sweetens the cheesecake while allowing the tang of the cream cheese to shine through. - 2 large eggs, room temperature
Eggs help set the cheesecake and give it structure while maintaining creaminess. - 1/2 cup sour cream or heavy cream
Adds moisture and silkiness to the cheesecake filling. - 1 teaspoon vanilla extract
Enhances overall flavor and adds warmth.
For the Strawberry Crunch Topping
- Golden sandwich cookies or vanilla cookies, crushed
These form the crunchy base of the topping. - Freeze-dried strawberries, crushed
Provide intense strawberry flavor and vibrant color without adding moisture. - 2 tablespoons melted butter
Helps the topping clump slightly and adhere to the cheesecake bites.
Optional Garnishes
- Fresh strawberries
- White chocolate drizzle
- Whipped cream
Equipment You Will Need
- Muffin pan or mini cheesecake pan
- Paper liners
- Mixing bowls
- Electric mixer
- Food processor or rolling pin (for crushing cookies)
- Spatula
- Measuring cups and spoons
Step-by-Step Instructions
Step 1: Prepare the Crust
Start by preheating your oven to 325°F (165°C). Line a standard muffin pan with paper liners and set aside.
In a mixing bowl, combine the vanilla wafer crumbs, melted butter, and granulated sugar. Stir until the mixture resembles wet sand and holds together when pressed.
Spoon about one tablespoon of the crust mixture into each liner. Use the back of a spoon or the bottom of a small glass to firmly press the crumbs into an even layer.
Bake the crusts for 8 to 10 minutes, then remove from the oven and allow them to cool slightly while you prepare the filling.
Step 2: Make the Cheesecake Filling
In a large mixing bowl, beat the softened cream cheese until completely smooth and free of lumps. This step is crucial for a silky cheesecake texture.
Add the granulated sugar and mix until fully incorporated, scraping down the sides of the bowl as needed.
Add the eggs one at a time, mixing on low speed just until combined. Avoid overmixing, as this can introduce too much air into the batter.
Mix in the sour cream (or heavy cream) and vanilla extract until smooth and creamy.
Step 3: Fill the Cheesecake Bites
Spoon the cheesecake filling evenly over the cooled crusts, filling each liner about three-quarters full.
Gently tap the pan on the counter to release any trapped air bubbles.
Step 4: Bake the Cheesecake Bites
Place the muffin pan in the oven and bake at 325°F (165°C) for 18 to 22 minutes.
The cheesecake bites are done when the edges are set and the centers still have a slight jiggle.
Turn off the oven, crack the door open slightly, and allow the cheesecakes to cool in the oven for 15 minutes. This gradual cooling helps prevent cracking.
Step 5: Chill Completely
Remove the pan from the oven and let the cheesecake bites cool to room temperature.
Transfer them to the refrigerator and chill for at least 3 to 4 hours, or preferably overnight. Chilling is essential for proper texture and clean removal from the liners.
Step 6: Prepare the Strawberry Crunch Topping
In a bowl, combine the crushed vanilla cookies and crushed freeze-dried strawberries.
Drizzle in the melted butter and mix until the topping is evenly coated and slightly crumbly.
Taste and adjust if needed by adding more crushed strawberries for stronger flavor or more cookies for extra crunch.
Step 7: Assemble the Cheesecake Bites
Once the cheesecake bites are fully chilled, remove them from the liners.
Spoon or sprinkle the strawberry crunch topping generously over each cheesecake bite, gently pressing it into the surface so it adheres.
Tips for Perfect Cheesecake Bites
- Always use room-temperature cream cheese and eggs
- Do not overmix the batter
- Chill thoroughly before adding the topping
- Use freeze-dried strawberries, not fresh, for the crunch layer
- Store topped bites in a single layer to preserve texture
Variations and Flavor Ideas
Chocolate Strawberry Crunch Cheesecake Bites
Add melted white or dark chocolate to the cheesecake filling or drizzle over the top for a chocolate-covered strawberry vibe.
No-Bake Version
Skip baking and use a no-bake cheesecake filling made with whipped cream and cream cheese. Chill until firm before topping.
Lemon Strawberry Crunch Cheesecake Bites
Add lemon zest and a splash of lemon juice to the cheesecake filling for a bright, citrusy contrast.
Gluten-Free Option
Use gluten-free vanilla cookies for both the crust and the topping.
Serving Suggestions
Strawberry Crunch Cheesecake Bites are best served chilled. They pair beautifully with:
- Coffee or espresso
- Iced tea or lemonade
- Fresh fruit platters
Arrange them on a dessert tray with fresh strawberries for a stunning presentation.
Storage and Make-Ahead Instructions
- Store in an airtight container in the refrigerator for up to 5 days
- For best texture, add the crunch topping shortly before serving
- Freeze without topping for up to 2 months
- Thaw overnight in the refrigerator before decorating
Why This Recipe Works
This recipe succeeds because it balances flavor, texture, and structure. The vanilla wafer crust provides a sturdy, buttery base. The cheesecake filling is rich yet light, and the strawberry crunch topping adds a bold flavor and satisfying texture contrast.
Each component complements the others, creating a dessert that feels indulgent but not heavy.
Final Thoughts
Strawberry Crunch Cheesecake Bites are proof that elegant desserts do not need to be complicated. With simple ingredients, clear steps, and a little patience, you can create a bakery-worthy treat that looks stunning and tastes even better.
Whether you are making these for a celebration or simply to satisfy a sweet craving, this recipe delivers consistency, beauty, and unforgettable flavor. Once you try them, they are sure to become a favorite dessert you return to again and again.